

How To Get To Kala E Bay
Liz's dad was a professional level hobby photographer, and she grew up learning at his side, in his home-built darkroom.
Warning! This Article Contains Very Bad Photos!
No, not naughty-bad; just poor quality and unprofessional looking. Before you can understand why something is problematic, it's easier if you can visualize the differences.
So--there are also examples of the right kind of photos, so that the difference between a good and bad photo is clear.
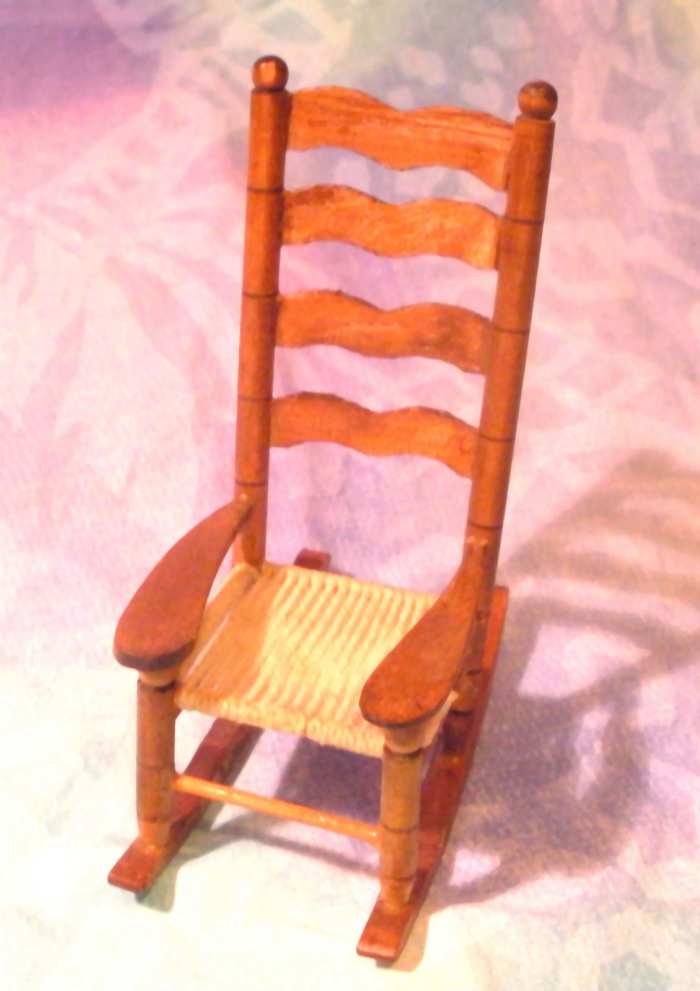
Doll house rocking chair I sold. Notice the tight close-up of the item
Making Extra Money
Many people make anywhere from some extra pocket change to making a living by selling items on E-Bay. A Great photo of your item is the place to begin. Remember the old saying, "a picture is worth a thousand words."
Make sure you are placing a genuine photo you took of your actual item. Do not copy catalog photos of the same or similar item. That's misleading and dishonest. It's also against the rules on E-Bay, and can get you marked down or banned!
Read through the points in this guide, and take particular note of the photos, both good and bad examples, so you have the best chance of selling your item when it's your turn to post a listing.
Mind you, descriptions and marketing your item also go a very long way, but photos are also truly vital. E-Bay is a very visual site, and many people will decide whether or not to buy simply based upon the photo.
"Position is Everything in Life"
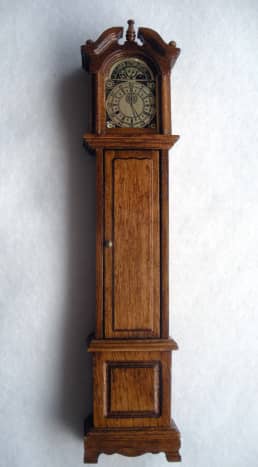
Or so they say. Some items are static, like the rocking chair and grandfather clock.
Books, DVDs, etc. are also static. There is really nothing to do but shoot the item head on for flat things, or all the sides for more 3-dimensional items.
Jewelry, though, is another kind of animal. It can well benefit from some artsy positioning, and even being shown on a model. You'll see some examples of this further down.
Shoot the Entire Item
Depending on the item, you need to take several angles, as well, including any flaws or damage. That way, you inspire confidence in bidders, and stand a better chance of selling your item, and keeping it sold, instead of getting complaints and returns.
Many of my examples here are of jewelry, but most other items require that you show the buyer a 360° view.
This doll house grandfather clock is one such piece.
Take Shots Showing All Sides of Your Item
Watch the Lighting
The very best lighting you can use is normal daylight. Take photos in front of a sunny or otherwise well-lit window. But be aware of the angle of the sun, and watch out for glare. The way our house is oriented to the sun, I get the best photos in the early afternoon in winter, and in the late afternoon in summer. In the morning, it's dimmer on the office side of the house. So, adjust according to the sun's path where you live.
Try to avoid using flash, if at all possible, especially on shiny surfaces so you don't get that dreaded flash bounce. You know, that big white blob of light that covers someone's face in the family reunion photos. No, it's not a spirit orb—it's a reflection from the camera's flash.
Flash Bounce Obscures Details

Flash bounce in a photo obscures detail you want seen. Don't let this happen to your items
Unless you have an expensive studio setup, with off-camera flash reflectors that don't hit the subject directly, you're better off with natural light. If you don't have a window with a nearby surface suitable for setting up a photo shoot, you can go outdoors, (weather permitting) to get your natural light shots.
If you have to use room lighting, check your camera for a white balance setting. Most cameras have this. (I have NO idea about the cameras in "smart" phones…I suspect not.) Incandescent lighting tends to put a yellowish color into the picture; fluorescent lighting tends to put a greenish tint. By selecting the proper setting for the type of light in the camera controls, you'll get far better photos.
If you're going to be using an editing program to crop, resize, or do other adjustments, you can fix light color issues there, but trust me: it's much easier to set the camera up properly to begin with.
Read More From Toughnickel
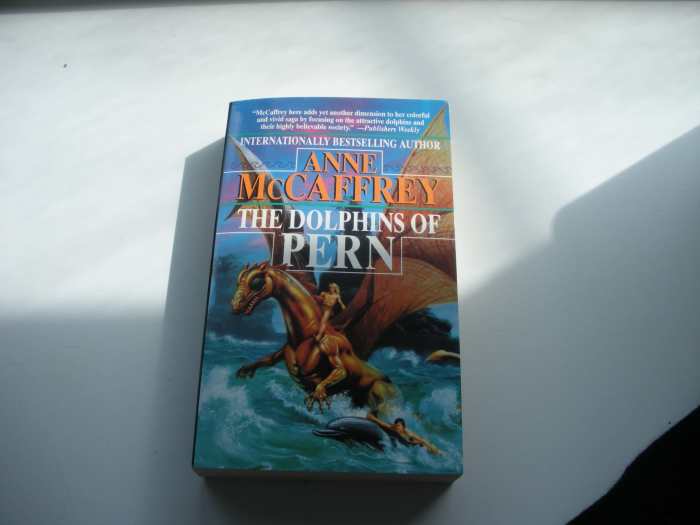
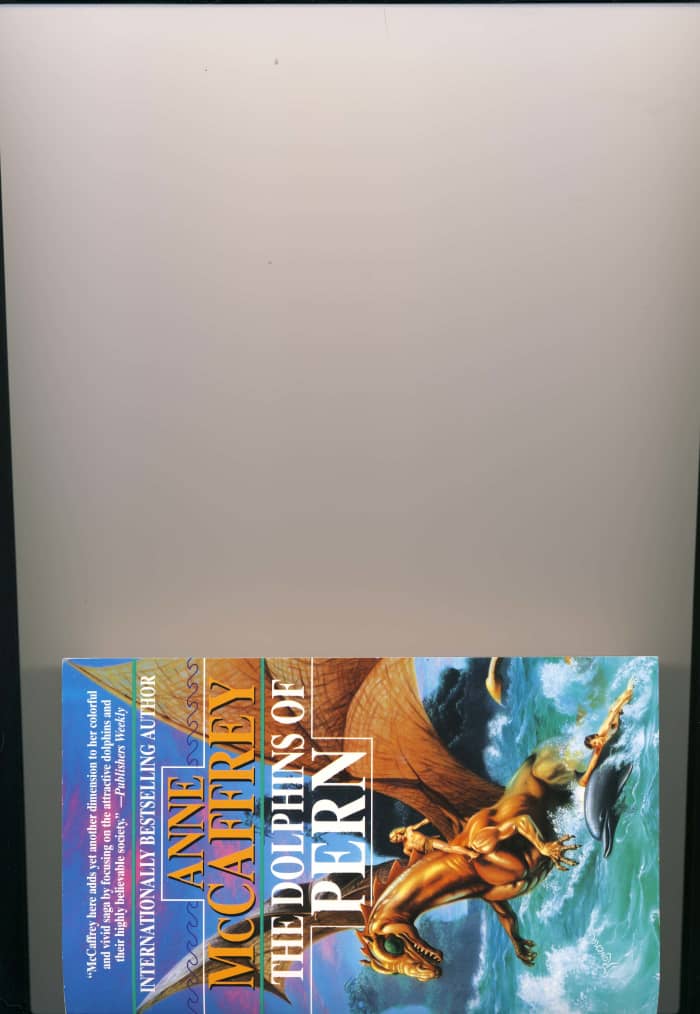
No!

Not only bad flash bounce, but not cropped tightly to show just the book cover--and the bottom of the book is cut off.
Shadows and Reflections
Just as you don't want your actual reflection on the item, neither do you want your shadow covering all or part of it; watch where the shadows are falling, and move around from the light source accordingly.
Also, be sure the lighting is even across the item. Don't allow part to be in the light, and part in shadow. That looks unprofessional.
Even Lighting, Please! Not Half In-Half Out of Light
No, no--you don't want this, either! The lighting should be consistent across the item.
Lots of Surfaces Are Reflective
Mirrors are not the only source of reflections. Check out the example of the necklace on the granite countertop. Not only is the background too busy to do it justice, but there is a clear image of two overhead ceiling lights shining right down onto the countertop. Big no-no!
And when it comes to flash, here's a trick to remember. Anyone who has studied geometry, or shot pool understands this concept:
"The angle of incidence is equal to the angle of reflection."
So, if you absolutely cannot avoid using flash, then don't take the shot straight on. Don't use a crazy angle that doesn't show the entire item, or shows it distorted. Just shift a little bit, and the flash bounce, instead of coming straight back into the lens will shoot off at that same angle, and out of your picture.
By the way: the same thing can happen with sun shining directly onto an object, but in reverse. The sun hits the item at an angle, and if you don't watch your camera angle, it's going to go right into your lens to make that same obnoxious white blob.
No! No, No, No!
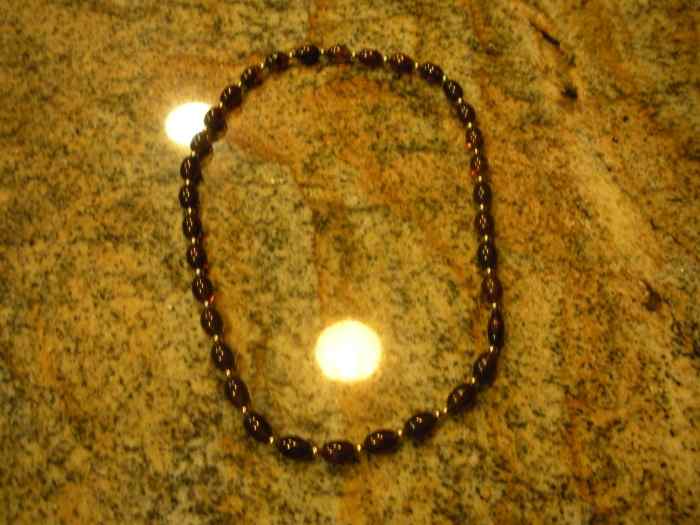
Oh, how ugly this looks! Not only can you see the ceiling lights, but the background is a very poor contrast to the necklace
Marginally Better, But Still Not Good Enough
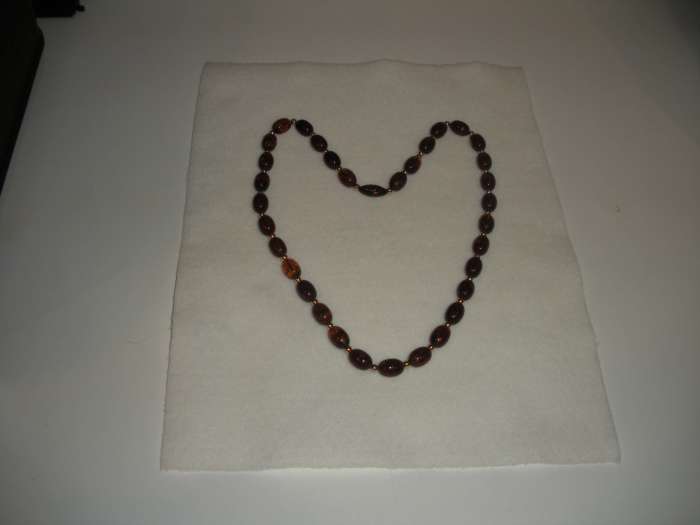
Better, but still not great; there is too much background, and the desk can be seen around the backdrop fabric. Also, it's too dark, and too far away.
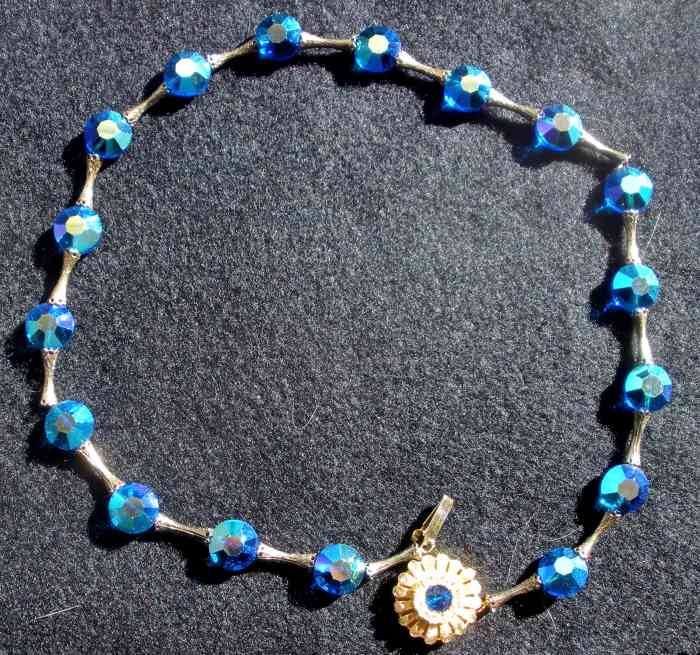
NOW It's Ready to List!
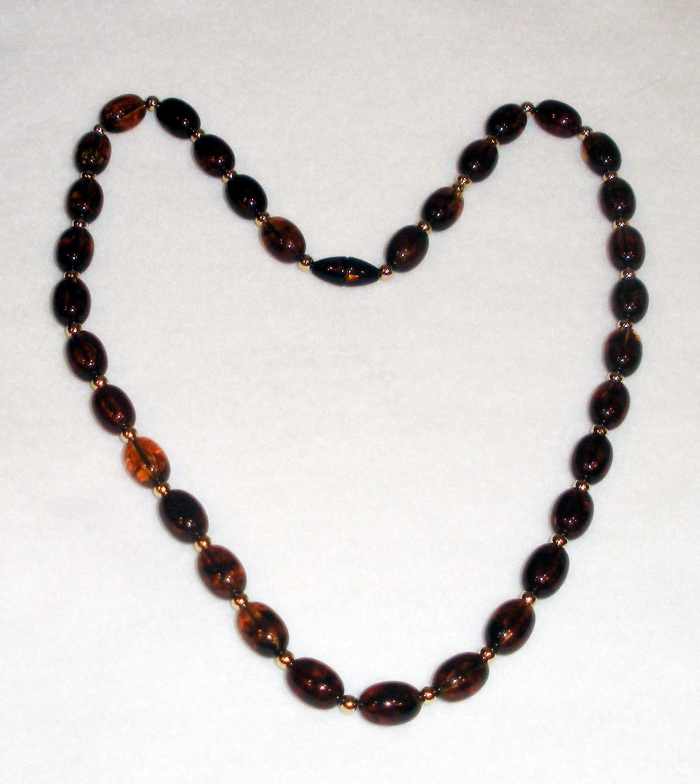
Ah--there it is! Nice and tightly cropped, on a clean, bright background that offers maximum contrast, and well lit, showing the variations in the beads
Use a Zero Horizon Background
For items that are of an uneven shape, and will not lie flat on a desk, you will need to stand them upright. In order to have them show just as well as the items laid flat, you need to set up a zero horizon background.
This means that there is not any visible line between the backdrop and the floor, if you will, of where the item is sitting. If you were to take a photo of an object place, say on a table, with a plain cloth underneath, you would still see the background, whatever it might be; across the room or the other side of the table; perhaps a wall. There will be a very obvious difference in the two surfaces. It is not attractive.
Setting up a zero horizon background is very easy to to. The first photo below illustrates how it looks for the listing, and the next one shows how it's done. No fancy equipment is needed. (Again, I draw your attention to the tight weave of the fabric; you don't see an obvious grain or pattern.)
A Zero Horizon Background Makes Your Item Pop!
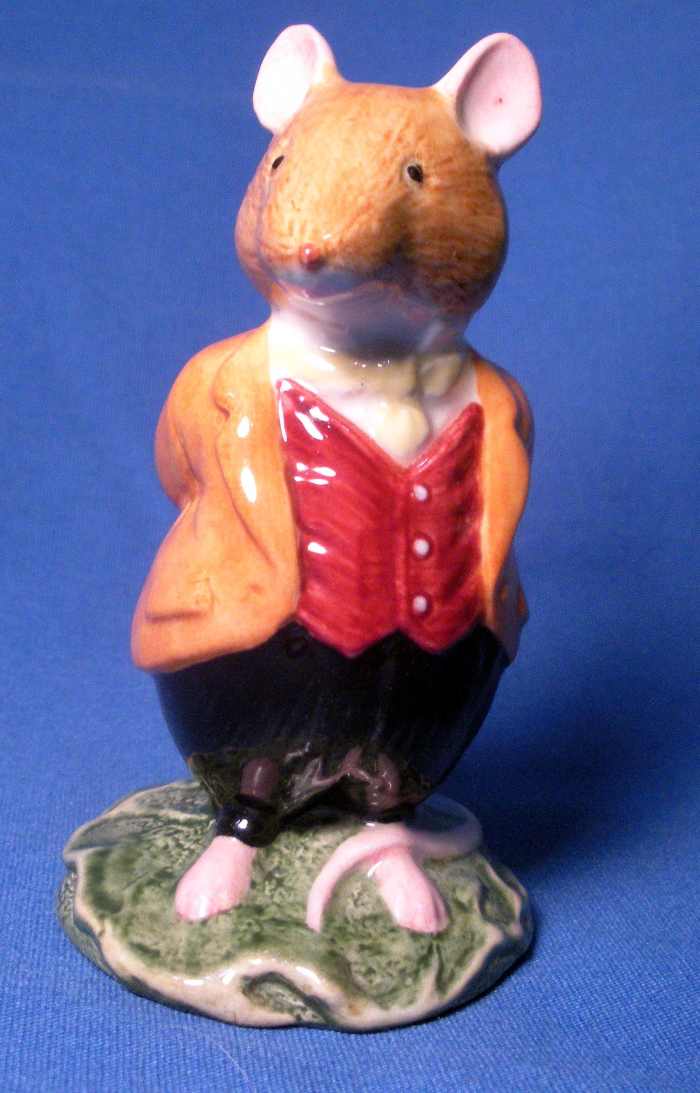
A zero horizon background for 3D objects looks best. This is how the item looked in my listing.
Setting Up A Zero Horizon Background
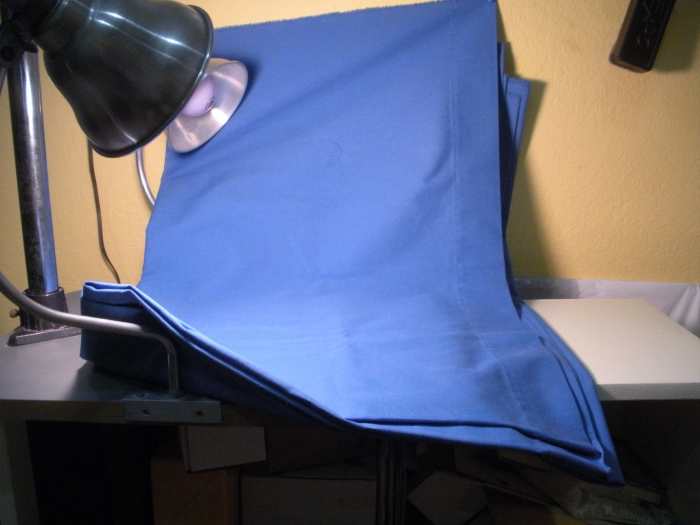
See? I told you; nothing fancy at all. Just a hastily tacked-up piece of cloth
Now, if you were to 'tuck in' that fabric tight against the wall, where it transitions from the wall to the top of the shelf, you would loose that 'floating' appearance, and there would be an obvious fold or crease showing.
The trick is to just drape it across that transition point, so there is a gentle curve, and the horizon line just disappears. Magic, it is!
The same technique can be used on a much larger scale with a live model, in order to focus the viewer's attention to the model and what they are wearing, or jewelry they're showing off.
Professional studios use this all the time. Of course, their setups are far more elaborate, and often involve scenery backgrounds, but if you're selling an item, you don't want that. A plain color is best, and ideally, one that complements the item.
Focus!
Don't let a blurry photo slip through. It won't help your sales.
Most digital cameras will 'talk' to you if the image is going to blur. Even a plain point-and-shoot camera, such as the one I use, has a focus alert.
It beeps three times to let me know if I am either too close for the camera to focus, or if there is not enough light for the camera to 'see' to focus. Two beeps tell me I'm good to go. Listen to your camera!
Not only is the photo below extremely blurry, but it's also on a background with not enough contrast. It's blurry because there wasn't enough light for the camera to use for focusing.
Pay Attention to What the Camera Tells You
Oh, please, never use a photo like this one! Do you really think a buyer would look twice at the listing?
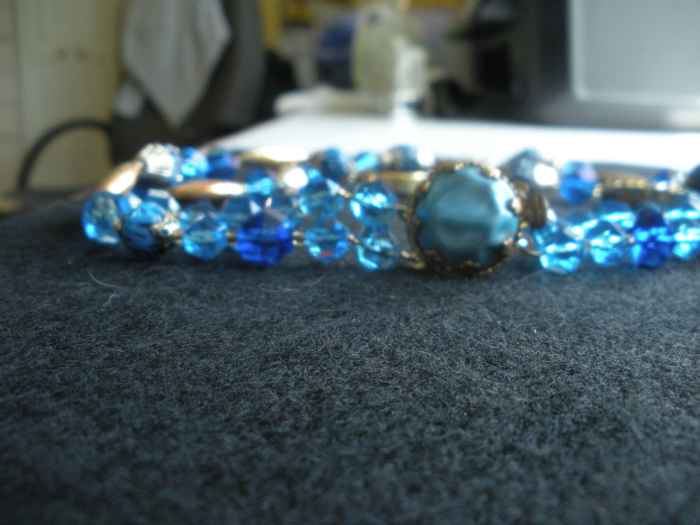
What Does This Necklace Look Like in the Real Listing?
Shot in bright daylight to show the sparkle, and yes, on a dark background; the white was too stark . You'll notice most jewelers show items on a black or gray cloth...
Backgrounds
Just as important as lighting is a background that sets off your item to best advantage. A plain colored cloth is best. For small items, you can even use felt craft squares. They are available in many colors, but I just use black or white for most items.
Try not to use towels or blankets either; the weave is very textured, and it's obvious what it is. Instead, opt for a very tightly woven fabric, such as the felt squares, or a plain colored bedsheet.
Whatever you do, don't use a very busy patterned background, such as a patterned bed quilt, or braided throw rug. It makes the item difficult to see. In some cases, it can be hard to tell where the item ends and the background begins.
Or, as in the photo below, a 'convenient' place to hang an item for photo purposes doesn't necessarily show it to best advantage. The small necklace is dwarfed by the rest of the crud on the bulletin board.
Oh, My Stars! What Is Being Sold Here, Anyway? Move In Close to Your Item!
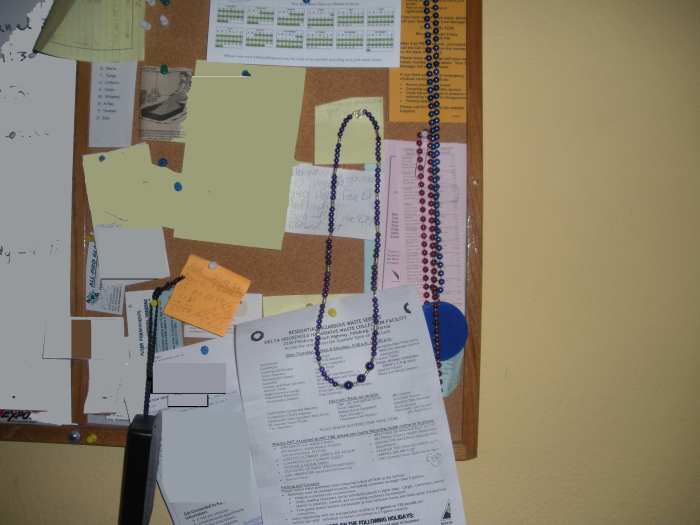
Item is too far away from camera; background is very cluttered; there are similar items to the right. (The only Photoshop work here was to obscure items with personal information.)
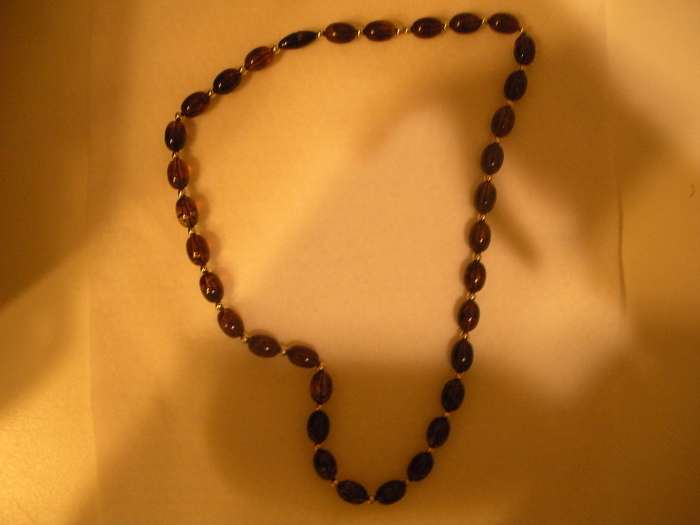
The Same Purple Necklace as On The Bulletin Board!
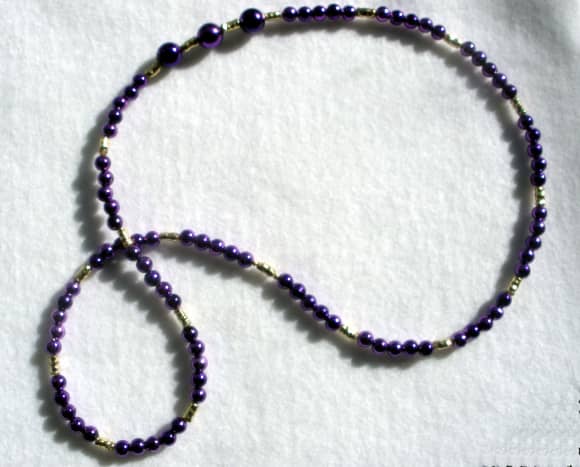
Use a contrasting background; don't use one that's too near the color of the item, for it will essentially 'disappear' just as it would on too busy a background.
Also, as seen in the example photo below, be sure your pets are kept out of the way and not photo-bombing your shoot.
No Good! Low Contrast, Plus Photo-Bombing Cat!

Ivory necklace on a yellow blanket. No, it's not a good contrast. Also, mind you shut your pets out of your shooting area.
Be aware, also, of any reflective surfaces in the background, such as mirrors, glass doors, or even shiny teakettles. There was one infamous listing quite a number of years ago, in which a man was selling a shiny stainless steel teakettle. The photo was very poor, not being a close-up, but taken from halfway across the room. Nevertheless, there was sufficient reflection to note the image of the man taking the photo, and to also see that he was not wearing any clothes! (Whether he did this on purpose or not, will never be known.)
Be advised: you don't want your own reflection shown on the item. Clothed or not, it is a distraction from what you are selling. Sometimes though, it is almost impossible to avoid. For example, I was doing a very close-up shot of a jewelry detail; it was shiny, and the sun was out. Yes, even in that small bead, there was the reflection of the camera and me! I took it out in Photoshop, but I would rather not have had to spend that extra time.
Don't let your own shadow get in the way
Get Close! Cozy Right on Up to That Item
Don't take the photo from across the room, unless the item is that large. Move in as close as you can to allow the item fill the frame of the camera. Most cameras have an index inside the finder, showing the area that will actually be seen. This is easily missed if you don't know what to look for, but most of the time, it's seen in the four corners, and is just thin, ninety-degree angled lines that look like the corners of a picture frame.
For the photo of the little rocking chair at the top of the article, the camera was only about 8 inches away. I had it set on macro, and on daylight in the white balance settings.
Actual Listing Photos of a Necklace and Earrings Set

Position sets together for the main photo
Watch That Background at All Times--And Focus!
Oh, dear--close up, yes..but what happened behind the item? And, the item is blurry to boot!
Get Close, But Still Watch the Background and Focus!
If the item is small, check to see if your camera has a 'macro' setting. This is for very close-up shots, less than three feet from your item. Some camera's macro settings will let you focus as close as an inch away. This is great for small details such as on jewelry pieces.
My camera won't focus much closer than about six inches, so I focus on the section I want to show in detail, and crop the rest out in Photoshop. It's a reasonable work-around. Some online photo editing programs also allow cropping; so don't panic if you don't have Photoshop.
What happened above, is that the camera couldn't 'decide' whether to focus on the item, the foreground or the background. It opted for the foreground area, and sacrificed the focus on the actual item and background. It doesn't matter that the distracting background is blurry, but that's not the point.
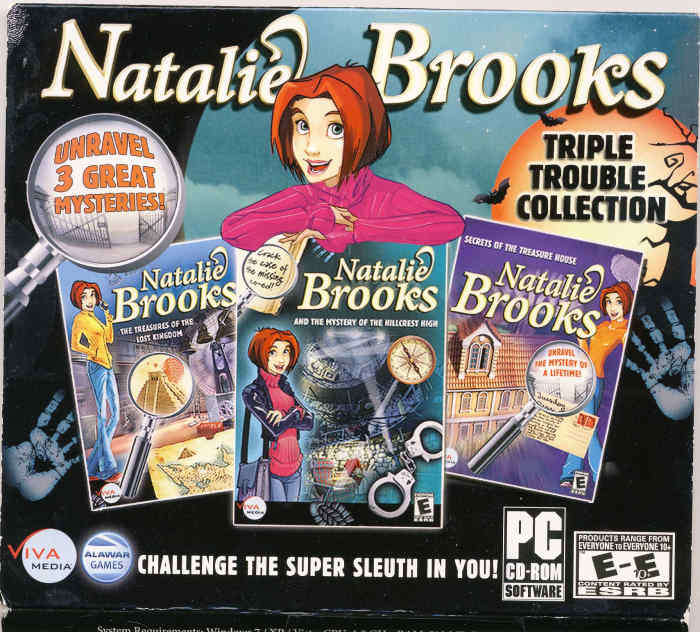
You Don't Always Need a Camera!
For most items you will. However, if you are selling things like DVD movies, video games on DVD or CD, or things like small souvenir booklets, you can just put the cover into the scanner, and scan the image. That way, the focus and everything is all set and you get a perfect image. Just be sure the scanner lid is able to close all the way, or most all the way, so no room light gets in. If the cover is a box, you will need to open both ends, and flatten the box for this trick to work, but it does work.
Note the example of the paperback book. Flash bounce can happen on surfaces that you might not think of as particularly shiny. This would be a good candidate for scanning instead of photographing.
In this case, you would damage the book by trying to fold back the cover far enough, so just put the entire book in the scanner, and let the lid rest on the book. Then, using a fairly heavy white cloth, such as a hand towel, drape it over the scanner to block any light coming in from the room.
E-Bay used to have a neat utility for movies, games and the like; you would just type in the UPC code, and up would come a file image of the cover of that item. It must have been too too cumbersome/not cost-effective to maintain, so they don't have that anymore. Too bad.
Scanning Works Well For Some Types of Items
With a scanner, you can get a perfect close up with no hassles of paper and other thin items
Room Light Shut Out, But...This Isn't Right
Even with the drape over the scanner, you can easily see that the lid is not fully closed. Remember to crop before you import!
The Scanner Can Help You
Fortunately, most scanners, and programs that can import from a scanner, allow a preview, and the ability to pre-crop the image, so it already correct as it comes into the computer.
And, voilá! As shown below, a perfect capture.
Ah, Just Right!

With the scanner, and the white drape, the book cover looks perfect
That About Covers It
You may think some of the examples of bad photos I've used are extreme. While it's true, I went out of my way to take bad pictures for this article (very difficult for me; it's not in my nature), I have seen photos on the site that are just as bad.
Taking a good picture is not difficult. The trick is to think it through first, pay attention to where the light is coming from, and from there, figure out where shadows will fall, and where reflections will bounce.
In short, don't be in a rush. Taking a good photo takes time, patience, and thinking it through. You will be rewarded in the long run with great results.
Happy selling!
Photo Credits
All photos are by the author. (Ruefully so with the deliberately bad ones.)
This article is accurate and true to the best of the author's knowledge. Content is for informational or entertainment purposes only and does not substitute for personal counsel or professional advice in business, financial, legal, or technical matters.
Audrey Hunt from Pahrump NV on June 25, 2017:
Thanks Liz for this informative, well-written hub. Just what I need. Love these terrific tips and the photos. I'm so inspired. I'll keep this wonderful advice as I practice my photography.
Peggy Woods from Houston, Texas on June 25, 2017:
I guess I should try my hand at selling a few items to see how it works. Thanks for your response.
Liz Elias (author) from Oakley, CA on June 25, 2017:
I've off-loaded a few things for which we no longer had any use, and a few vintage items. I don't work very hard at it, so I don't make a lot, but I just look at it as an opportunity for some extra pocket change.
Peggy Woods from Houston, Texas on June 24, 2017:
These are excellent tips regarding focus and lighting when taking photos whether for E-Bay selling or just in general. I have never tried selling anything on E-Bay. Do you find it profitable?
Liz Elias (author) from Oakley, CA on May 09, 2017:
Thanks, Shauna! I didn't even think of that, but you are right; the same principles apply!
I try to take my own photos for articles, but for many of them, I haven't been to the location in so many years, that who knows where my old (probably grainy) photos from my then-available "instamatic" camera even are! So, I end up on Flickr more than I'd like; also for photos of things I know about, but do not have any examples of my own.
Shauna L Bowling from Central Florida on May 09, 2017:
These are great tips, Liz, whether or not your readers sell on eBay. I take my own photos for my articles and these tips will definitely come in handy.
Liz Elias (author) from Oakley, CA on April 10, 2017:
Thank you, Audrey! I appreciate the feedback. I had some trouble deciding which photos to include after running around trying to take bad ones on purpose. LOL
Audrey Howitt from California on April 10, 2017:
This is a fabulous article!
Larry Rankin from Oklahoma on April 09, 2017:
Very informative!
Bill Holland from Olympia, WA on April 09, 2017:
Great advice, and the very first statement had me howling with laughter.
How To Get To Kala E Bay
Source: https://toughnickel.com/self-employment/Taking-Great-Photos-For-Selling-on-E-Bay
Posted by: kennedysence1957.blogspot.com
0 Response to "How To Get To Kala E Bay"
Post a Comment